
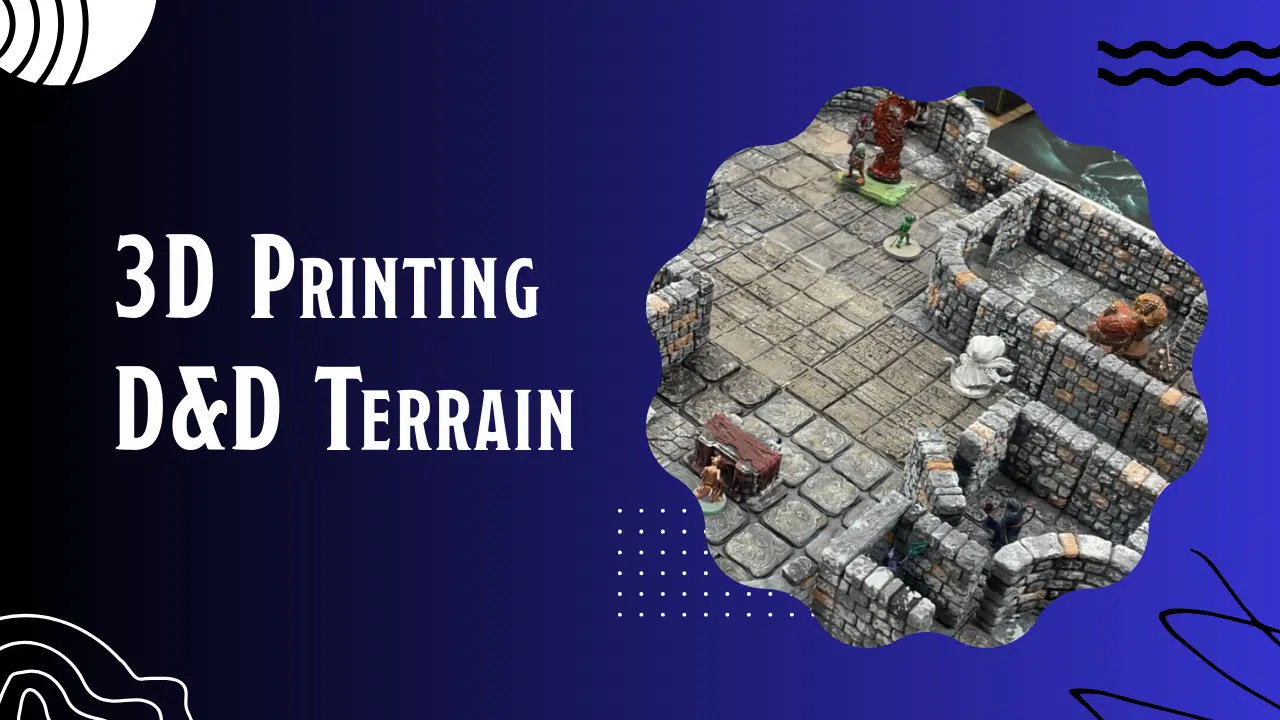
Last year, I bought a 3D printer, the Elegoo Neptune 3, on Black Friday. I had never used a 3D printer before, so I went with a plastic filament (FDM) printer because resin is toxic, and I am honestly pretty careless. I would 100% poison myself.
After some trial and error, I figured out how to get it working well enough to print miniatures and various bits of D&D terrain.
Lately, I decided to pick things back up since I have a monthly(ish) game I DM of the new Phandelver & Below: The Shattered Obelisk adventure. You know, the one that expands The Lost Mine of Phandelver starter set into a full campaign. It’s awesome.
Since I have the time between sessions I run, I decided to break out the 3D printer again and print up and paint maps for my group instead of relying on flat tiles and dry-erase markers. The first one I tried was Cragmaw Castle. In the book, it looks like this:

I had to edit the design a bit for time since our other DM had to miss the session and asked me to fill in for him. That pushed my deadline up by a few weeks.
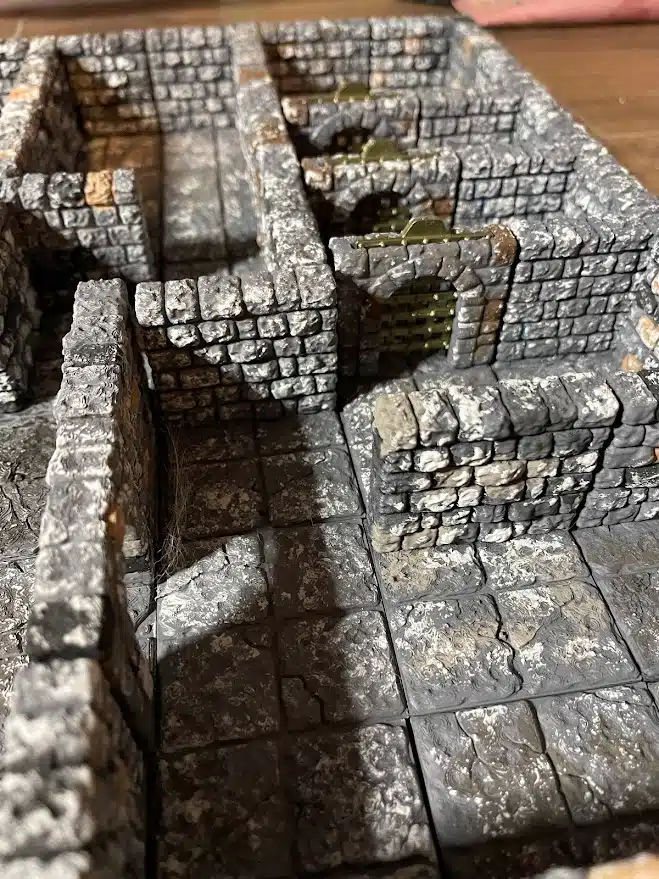
That meant that I was limited in which pieces I could feasibly get printed and painted in time. It also meant I couldn't get the grass and landscaping done like I'd planned. Here’s what I ended up with:

I'm pretty pleased with it. One of my players took some cool pics from inside the castle, too, if you want to check out that album.
Also, this is my first (full) 3d printed dungeon. I have never painted 3d terrain before, nor have I really assembled anything. So It was a total learning experience, and I am pretty proud of it. (Next time I do a map like this, I will have more time to plan and get the greenery and landscaping around it, too.)
I also found a very cool Patreon called Custom Minature Maker via Reddit that taught me how to use air-drying clay and 3D-printed texture rollers to make floor tiles.
I never would have been able to finish in time if it hadn’t been for their content. You can see the clay tiles in the image above by looking at the ones with brick textures near the center of the map instead of the smoother stonework tiles elsewhere.
My First Attempt at 3D Dungeon Tiles
About a year ago, I tried my hand at 3d printing dungeon tiles. I made a small set of tiles I could rearrange for two rooms of a cave inside the Rock of Bral when I was running my Spelljammer campaign. It was from the Saving Commodore Krux supplement on DMs Guild, which is fantastic and I highly recommend it.
I used OpenForge tiles from Thingiverse to make this:


It was cool and fun to play with, but I used Bucky Ball magnets to hold it together, and they came apart super easily when we were moving minis around. Plus, the tiles had to be glued onto the bases, which meant they were uneven because I kind of suck at that sort of thing.
Also, because it was a slime/plasmoid cave, I went with a pretty unique color palette. It worked for that session, but unfortunately, I never found another time where it was even remotely appropriate to bring out again. Or worth the trouble of dealing with uneven tiles and loose magnets.
So for the rest of the year, we used flat, dry-erase grids and had a grand ole time.
Time Investment for 3D-Printed Dungeons
Overall, for Cragmaw Castle, the printer ran pretty much non-stop for about 2 weeks, maybe closer to 3. It was going between 18 and 20 hours a day.
I can generally get 3 2x2 floor-and-wall tiles done in a single print, taking 9-10 hours. I would print 2 corners and a wall, or 4 rounded corners at a time. Those were my main batches.
In other words, the bottom two corners of the castle (or equivalent) would take all of a single day to print, running 24 hours a day. Or these 7-8 tiles highlighted in red:

That’s not including priming and painting, but that was minuscule compared to printing. I could batch that and be done with 6-10 tiles in an hour total.
With the clay tiles, not counting the printing time for the roller and tile cutter tool, I could roll out about sixteen 2x2 tiles in 5 minutes (or technically, four 4x4 tiles), and it would be dry enough to prime and paint by the next morning. Which meant that using clay tiles for flooring is much faster. And much cheaper.
Money Investment for 3D-Printed Dungeons
I use Rustoleum 2x Matte Grey to prime, and it’s about $6 a can. I got this entire thing primed with a single can.
Then, I just used Apple Barrel and FolkArt paint from Wal-Mart to do the painting, and those are about $0.50 a bottle. I haven’t run one dry yet. I followed this tutorial and used the same colors they recommended: black, country grey, territorial beige, and pewter grey. So…about $2.
Then, as I said, I signed up for the CMM Patreon at the $4 level, bought some DAS air-drying clay for $10 off Amazon, and I’ve only used half the 2.2lb (1kg) block so far. My tiles are way too thin, however, so I will be using more clay when I roll out my next batch.
And then there’s the 3D printing filament itself. Which is where the real cost comes in. (Keep in mind, though, that it's still much cheaper than purchasing pre-made 3D dungeon tiles.)
I suggest using eSun PLA+ (or PLA PRO+) filament. The white is the best I’ve found so far for either minis or terrain, and it runs between $20-25 per 1kg spool on Amazon. Most of my prints were between 70g and 90g, with 2 corners and 1 wall being 90g.
That means I could get roughly 30 2x2 dungeon tiles out of a single spool of filament. At $0.025 per gram, each single tile would then average of $0.75 per tile. 75 cents is not a lot at all for a dungeon tile.
(Remember, I did almost all wall/floor combo tiles, so that means you could get ~60-70 floor-only tiles out of the same amount of plastic. Cura tells me 6 2x2 floor tiles is 74g, for example.)

For comparison, Dwarven Forge tiles are ~$5 each, and I think some sets get them down to right at $3 each since you’re buying in bulk. But not always: one set that comes with 172 pieces is $918, averaging $5.30 per tile.
By comparison, at max, my Cragmaw castle is 20’x30’, or 150 2x2 tiles. For the plastic alone, that’s $112.
Plus paint and primer, that’s…$120. But then considering the roughly 50 dungeon tiles I made out of clay, that brings the total down to about $75 in plastic and paint, and $5 for the clay. So $90 total.
But, then I didn’t fill up every square, I think there are about 30 spaces on the foamboard I didn’t use. So take off $22.
So $78. And then there’s the foamboard, which I used to glue the clay tiles for stability ($1 each), and the blue poster tack I used to adhere the tiles to the second board, so that’s another $4 total. (Time kept me from doing magnets or anything fancier.)
So…$82. Then there are the STL files themselves. I downloaded the Dragonlock Ultimate tiles by Fat Dragon Games from DTRPG as my base. I caught them on sale around Halloween, so I was out about $35 for the absolute crapton I bought.
Back up to my final $117 total.
So for roughly 1/10 of what it would take to buy pre-made dungeon tiles, I 3D printed exactly what I needed over about 2 weeks and painted them. I think that’s pretty awesome.
Note: You can also find free STLs of pretty much everything you need on Thingiverse by searching for OpenForge or just looking at Devon Jones’ profile. So you can do this a lot cheaper than I did, but I found I like the Dragonlock by Fat Dragon Games ones just a bit better.
While I can’t say that spending over $100 on a D&D map is inexpensive, having reusable tiles that I can bring to my FLGS is great. The initial investment in time is pretty high, but the monetary cost for DragonLock terrain is relatively low compared to other 3D dungeon tiles.
Next Project: Redbrand Hideout
Since I first wrote this article for my Substack newsletter, Beej's Magic & Monsters, I have pretty much finished the Redbrand Hideout from LMoP/Phandelver & Below.
I used nearly all of the same tiles I did for Cragmaw, and I then printed a lot of extra walls, furniture, and the cavern and chasm in the middle.

I wasn’t able to use any set pieces like I wanted in Cragmaw Castle, so I think this one will be fun to dress up with coffins and tables and beds and shelves. I want to give it a real lived-in feel for my players. Here's the map as I have it now, and the only things I have left to add are monsters (obviously) and a black sheet under the chasm to simulate depth.
I could put the map on risers and have the depth actually be there, but since I have to transport this map to my FLGS, that's just asking for trouble. When I get to run a home game, I will certainly be taking advantage of 3d space more.

I think this is a much better dungeon using these tiles than Cragmaw, and I think my players are going to really enjoy it.
I was able to get some cooler shots of the inside of the Redbrand Hideout when I got more of the furniture in place:


Overall, I am really proud of what I've been able to do with the 3d printed dungeon tiles.
Then on to Wave Echo Cave in 3D
I have started working on my next project for this LMoP campaign, Wave Echo Cave. This is a huge dungeon, and it takes a lot of time, space, and effort. Not only to print and paint, but it's a monster to store and display.
For a full-sized, 5-foot scale, look at this image from Reddit user u/pab_i. Note the size in relation to the DM screen. It's massive.

Honestly, there's no way I can print this out and use it. Especially with having to take it to my local game shop where we play. I found, though, a consolidated version of the map on EN World from user Yubbie Nubbins that I am working on emulating because I think I can get a version of this to fit on four 20'x30' foamcore boards for transport.

We'll see how it goes. As of right now, I am working on printing the cavernous parts, and I will update this post as I make progress on it.
Do you 3D print D&D terrain for your dungeons? Let me see what your favorite sets that you've done are!