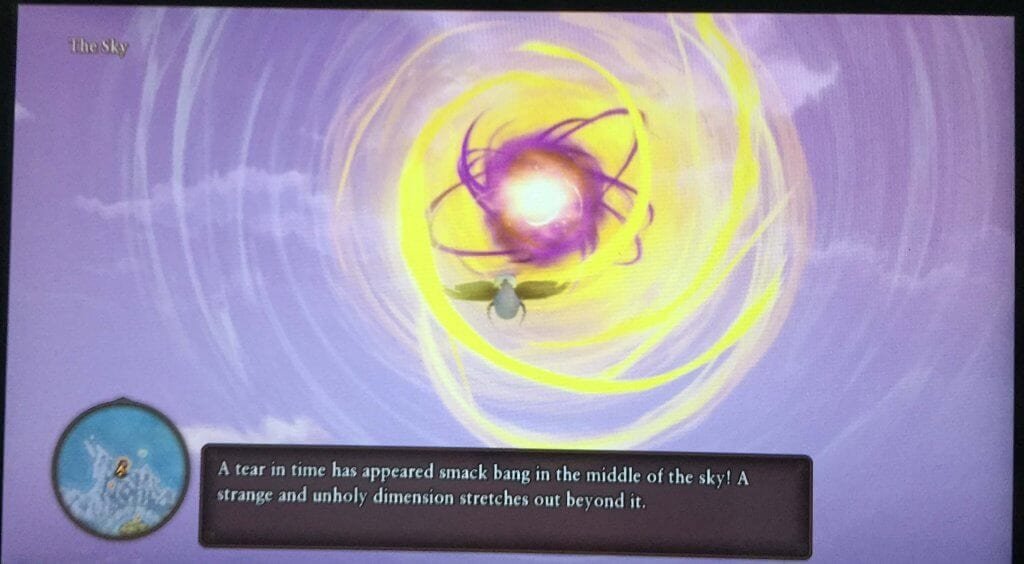
This is how I, personally, defeated the Timewyrm superboss at the end of Dragon Quest XI S. This is not so much the definitive way to do it, but it's definitely a way to do it. And it's definitely a good way to do it.
Also, there are going to be a ton of spoilers ahead. Consider yourself warned.
Again, There are going to be a ton of DQXI spoilers ahead. Consider yourself warned.
How to Kill the Timeworm (General Strategy)
I tried this superboss duo, the Timewyrm and the Timewyrm's Tail, several times and died a lot. Through trial and error, I got a little bit further in the fight each time. It was relatively frustrating, to say the least. It was really hard.

After a while, though, I got discouraged and decided to watch a video of the Timewyrm fight. At the time, there were only two videos I could find, and they each showed essentially the same strategy:
- use the ‘Yggdragon's Blessing' Pep Power to make your party immune for a few rounds
- have Veronica spam ‘Magic Burst'
- have your party feed her ‘Elfin Elixirs' to restore her MP (thus making it possible to cast Magic Burst again)
- Repeat until the Timewyrm is out of time
This was similar to the strategy I'd already been using, but I decided to give it a shot.
So…I tried that strategy myself, and it didn't work*, so I went back to the proverbial drawing board.
*I'm not saying there's anything wrong with those videos, either. I'm sure that strategy has worked for a lot of people. Maybe I just didn't have enough Pep Pops, or maybe RNG just wasn't on my side.
So to prepare, bring along as many Pep Pops as possible (Pep Pips will be way too slow) if you plan to try this strategy.
How to Prepare Your Party for the Superboss
Obviously, you want to have your party at level 99 for this fight. Since this fight doesn't appear until after you've completed the story, beaten the true final boss, and completed all the Tickington quests and bosses, you're likely 99 already. If not, take a few minutes to an hour and farm on some Metal Slimes. I like the Dundrasil campsite.
I also had my entire party's skills maxed out by farming skill seeds, but this isn't necessary. I had good luck getting skill seed drops from Malicious Great Keepers, which appear near the Dundrasil campsite when it's raining (you can talk to the nearby cow to find out the weather forecast). Having Erik equipped with the Pirate King's Pendant also helps skill seeds drop, since they're a rare drop from those enemies.
Some Equipment Recommendations
You also want to make sure you have the best equipment possible before the fight. I mostly want to talk about accessories. My starting party was Hero, Hendrik, Veronica, and Serena. In terms of weapons, this is how I equipped them.
- Hero had a +3 Supreme Sword of Light
- Hendrik had a +3 Metal King Greatsword,
- Veronica had the Godbird Sceptre
- Serena had a +3 Sceptre of Time.
Regarding the actual accessories, this is what I recommend:
- Elfin Charm (on everyone except Serena, who I put a +3 Goddess Ring on),
- Catholicon Ring (on everyone)
- Heavenly Helm (anyone who can wear it)
- Goddess Ring (on Serena instead of the Elfin Charm).
Here are a few screen grabs of those items, so you can see the specific stats and effects they provide.


Keep in mind you need the recipe books for these if you want to craft them. You're also gonna need a lot of Crimsonite.
My advice on Crimsonite: head out to the Gallopolis Sands and have Erik steal Serpent Souls from the Pruslas enemies (or have him steal the same item from Malicious Black Dragons, which are easy to spot just north of the Heliodor campsite). Take the Serpent Souls to Krstyalinda in Sniflheim and trade them for Crimsonite.
The other hard-to-find item for crafting is Red Wood, which is a common steal from Malicious Stump Chumps in the Fierce Forest section of the Disciple's Trial. You can also harvest it from at least one spot in the Fierce Forest.
These accessories don't guarantee you're immune from the ailments they protect against, but the percentages stack. Because they stack, you can be almost immune to several status ailments the Timewyrm and the Timewyrm's Tail cause.
Other Recommended Items
Pep Pops and Elfin Elixirs go a long way in this fight.
I farmed up about 20 Pep Pops, and they're 200,000 gold each back in Cobblestone (after you've rebuilt it, of course). That's a lot of gold. The easiest way to make gold in Dragon Quest XI S is to steal Devilry Drinkers from Hooper Duper enemies outside of Hotto or at the First Forest Whale Way Station.
Those Devilry Drinkers sell for 30,000 gold! Each! If you have the Pirate King's Pedant equipped, as I did, then you often get a bonus Devilry Drinker after the enemy is defeated. Just head back to Cobblestone, sell the shields, and buy up Pep Pops.
If you did the jackpot side quest in Octagonia, then hopefully you saved some casino tokens to spend on Elfin Elixirs. They go for 10,000 casino tokens. It's up to you how many to get, but I grabbed about 30 of them.
I spread the Pep Pops and the Elfin Elixirs out between my entire party. Most of them I gave to my four starters, but I put some in the reserves, too (just in case, you know?). Turns out, that was smart thinking since Sylvando replaced Hendrik about halfway through the fight.
But we'll get to that!
Enjoying the post about the Timewyrm? Be sure to check out my new book, The Dragon Quest Book, on sale now on Amazon and other online retailers.
–Austin
Now, the BIG Fight…
Like I said earlier, I died a lot while attempting this. After the third or fourth time I watched those videos. And after another three or four attempts, I incorporated some of that strategy along with some of my own.
It went a bit like this:
Make sure your party is Pepped up before flying into the great miasma in the sky and taking on the Timewyrm. If RNG is on your side, you can use Yggdragon's Blessing at the beginning and be protected for several rounds. If it's not (and it wasn't for me a lot of the time), then the Timewyrm's Tail can really mess you up.
Once, during a time that my party wiped, the Timewyrm's Tail killed Hendrik and almost killed Veronica before I even got a chance to go.
When I finally won, it was because I got to use Yggdragon's Blessing before any damage was done. So, you're gonna need just a bit (or maybe a lot) of luck for this fight.
After that, I followed a pretty simple pattern. I'd have Veronica cast Magic Burst, have Serena feed her Elfin Elixirs, have the Hero use a Pep Pop, and have Hendrik use Yggdragon's Blessing. It's a slow strategy, but it worked pretty well. You can have Serena or the Hero cast Omniheal as needed, but if you keep Yggdragon's Blessing up, you won't need it very often.
The videos I watched had them using the Gigaburst Pep Power sometimes, and I was too cautious to try that. Safe and slow was my strategy. If I didn't get the accolade for defeating the Timewyrm and Timewyrm's Tail really quickly, that's okay with me. I just wanted to say I beat the thing.
Eventually, the Timewyrm will switch in, and I repeated the same pattern for it. Then, the Timewyrm and the Timewyrm's Tail with attack you together. This is when the fun begins. And by “fun,” I mean “dying.”
I kept to the same pattern, and although there were a few hiccups along the way (see the next section for those), I eventually hacked away at the bosses until they were dead. You need to kill them at the same time, so make sure you have Magic Burst saved up. Alternatively, you can have Serena and Veronica used their Mighty Magic Burst Pep Power. I tried this early on (during one of the fights that I wiped on), and it's a risk since it drains both casters of their MP completely. I advise using it as a Hail Mary/last resort thing.
A Few Hiccups
There were a few hiccups along the way. Once, the Timewyrm dispelled my entire party right after I'd used a Pep Pop and didn't get a chance to follow it up with a Pep Power. Bummer, dude.
Another time, and despite having accessories to protect against it, two of my party members became confused. I decided to let them die and then used Kazing to bring them back. At this point in the game, Hendrik, Rab, Serena, and the Hero all knew Kazing, so it was a fairly safe gamble. I was, however, lucky the Timewyrm didn't kill me during that time.
Eventually, after halfway through the fight, I switched Hendrik out and Sylvando in. I did this for two reasons: Sylvando is able to remove most of the status effects you can get stuck with, and he moves must faster than Hendrik. In hindsight, I think I would've started with Sylvando instead of Hendrik.
But, at last…

Please ignore my thumb in that picture. I was so excited when I snapped this photo on my phone to send to B.J. at 6 am that I didn't get a great pic.
Anyway, that's how I did it. If this helped you, great. If you used a different strategy, let me know! I'd love to hear it!
If you'd like to hear more about Dragon Quest in general, then listen to our Dragon Quest FM podcast, where we obsess over DQ and other JRPGs every single week. You can start listening right here.


B.J.???
Another easy way to farm Elfin Elixirs is to go to Drustain’s Sage trial, and constantly fight the Umbra’s. Keep having Eric steal the mini medals and cash them in at L’Acadamie. 3 mini medals for and Elfin Elixir. Much quicker and saves you from getting unneeded casino tokens.
You definitely want to use Sylvando instead of Hendrik, not only because he’s faster but also because he can use his Ladies First skill to pass his turn to Veronica or Serena. Very, very useful.